Preparing for Grain Harvest: Everything You Need To Know
Published by The Grain Handling Direct Team on Aug 1st 2022
Now that summer is in full swing, the harvest season is right around the corner. There’s no better time than now to start your preparations for the grain harvest—but where do you begin? We’re here to help you get ready for the harvest before it arrives—once the combines are rolling, it’s too late! Read on to learn everything you need to know when preparing for grain harvest.
Clean and Empty Grain Bins
You can’t add grain to a bin before you clean it out of the old grain. It’s far too easy for old grain to develop mold in the off-season. If you don’t take care of the old grain, that mold can become a problem for your new grain. Don’t add any new grain until you’re sure your grain bins have been thoroughly cleaned.
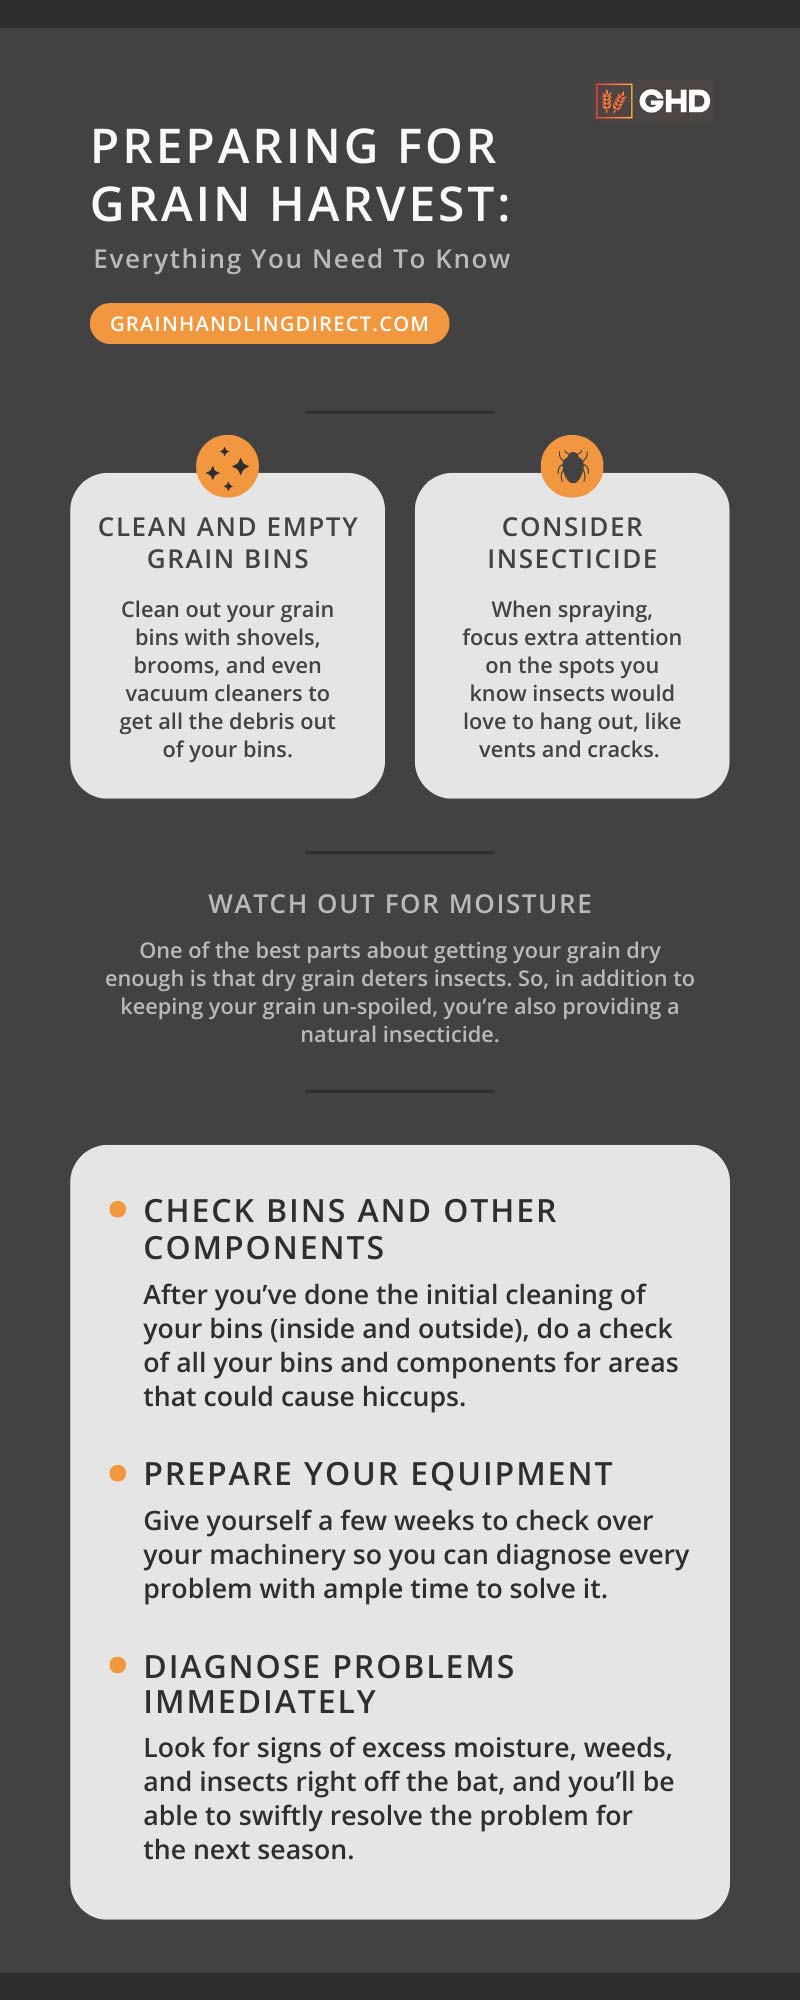
In addition to mold, you also have to look out for insects and other pests. Clean out your grain bins with shovels, brooms, and even vacuum cleaners to get all the debris out of your bins. You should also be sure to clean every surface, from the floors to the walls to the ceilings! You’ll also spot several nooks and crannies in the partitions between walls—don’t neglect these cracks when cleaning.
Don’t Forget the Exterior
Cleaning the interior of your grain bins is a good start, but you can’t forget about the exterior. If you allow grass or weeds to build up around your grain bins, you’re creating convenient hiding places for rodents and other pests. Additionally, make sure you clean up any grain spilled outside of your bins. Otherwise, you’ll attract rodents and birds.
Consider Insecticide
If you want to use an insecticide, make sure to do so around two weeks before you plan to bin your grain. When spraying, focus extra attention on the spots you know insects would love to hang out, like vents and cracks. Make sure to check the label on the insecticide you’re using to ensure that it’s compatible with the grain you’re planning to store.
Don’t forget to sweep up any dead insects from the grain bin before you put in your grain!
Finally, you may not want to use an insecticide for any number of reasons. If you opt not to, you can use a surface dressing known as a “cap out” to stop insects from getting through the top layer of your grain. Of course, this will have no effect on insects already in the grain, but it would prevent the addition of more through the top.
Watch Out for Moisture
Although insects can become a headache, the biggest problem in grain spoilage comes from excess moisture. If this summer is any indication, high temperatures and high humidity are here to stay, and that can wreak havoc on your grain if you don’t take the proper measures. Your location will determine what moisture content you should aim for—if you don’t know the number you’re trying to hit, be sure to reach out to your local extension resources or agronomist.
One of the best parts about getting your grain dry enough is that dry grain deters insects. So, in addition to keeping your grain un-spoiled, you’re also providing a natural insecticide.
Check Bins and Other Components
After you’ve done the initial cleaning of your bins (inside and outside), do a check of all your bins and components for areas that could cause hiccups. You may need to re-grade the bin site in order to promote proper drainage. This is also a great time to check all your bins for structural soundness. Without a solid foundation, gaps can turn into major grain spills and entry points for moisture and pests.
You should also keep an eye out for loose bolts and signs of rust. Bring a caulk gun with you to plug any cracks you spot. When you notice a component experiencing undue wear, repair it or replace it immediately.
Chains, Belts, and Drives
Check all your chains and belts for the proper tension. Be sure to replace belts that appear worn out and lubricate your chains. Don’t forget to do the same with your drives and bearings!
Prepare Your Equipment
The harvest requires more than just grain bins, so don’t wait until the last minute to take your equipment out. Give yourself a few weeks to check over your machinery so you can diagnose every problem with ample time to solve it. Just because an auger worked when you stored it at the end of last season doesn’t mean it will still work for this harvest.
You can also take this time to calibrate your yield monitor—everything you can do now, do it now! Otherwise, you’ll be stuck with downtime—and time is money.
Diagnose Problems Immediately
Even though harvest time is busy, you should prepare yourself to do a few jobs at once. The harvest is important, but so is diagnosing and documenting problems as soon as you notice them. Having a field perform below expectations is practically unavoidable, but it’s much more difficult to determine the cause of the problem a few weeks after the harvest.
As soon as you spot something going wrong, try your best to get to the root of the problem right away. Look for signs of excess moisture, weeds, and insects right off the bat, and you’ll be able to swiftly resolve the problem for the next season. If you don’t identify the cause straight away, you’re likely to run into it again and again.
Clean Your Harvest and Handling Equipment, Too
It’s not enough for your harvest and handling equipment to work—it also has to be clean. After you know all your grain handling equipment fires up as you remember, be sure to give it a thorough cleaning. Old grain can get moldy on equipment as easily as it can get moldy in your grain bins.
Now that you understand everything you need to know when preparing for grain harvest, get started on the prep work so you can have a flawless harvest season. We know how stressful the grain harvest can get, so put in a little work now for a big reward later.


